In Search of a 6 Sided Snowflake

As an illustrator I am probably more aware than most of holiday illustration snafus. I'm sure most folks could care less if the snowflakes on their paper plates or their wrapping paper are the eight-sided or the more accurate 6-sided variety. I'm not one to get too riled up about things. But I, and illustrators like me, spend literally hours drawing those little innocuous crystals and darn it they are suppose to have 6 sides. Six, do you hear me! Not eight. And I'm not the only one that is irritated by this corruption of one of nature's wonders. NPR had a story about this last holiday season. So as I go about my Christmas shopping I'm always counting the sides on the snowflakes. And just this morning on TV, I saw a car commercial that was bedazzled with 9 sided snowflakes. Nine sides?! Someone actually has to work to be that inaccurate.
It's time for an intervention.
Here are some instructions for drawing a SIX-SIDED snowflake in Adobe Illustrator. Of course like many things in life, this is just one technique, if you have another one that you prefer, I hope you will share it. I think we need to spread the word and rid the world of erroneously sided flakes.
In Adobe Illustrator create a new document, and using the pen tool create a vertical line. Then select the line and click the rotate tool. With the rotate tool active, press the ALT key (sorry I don't know the Mac equiv off the top of my head) and click on the lower anchor of your line. The rotate dialog box will pop up. Enter in an angle of 30 degrees and click the copy button. You should have something like this...

Now select those two lines and lock them (Object->lock) These two lines are going to be your guide lines. Now, using the pen tool, make a zigzaggy line between those two guidelines. Stay inside the guidelines, and make sure the begining of your zigzag starts on one guideline and ends on the other. You'll have something like this...
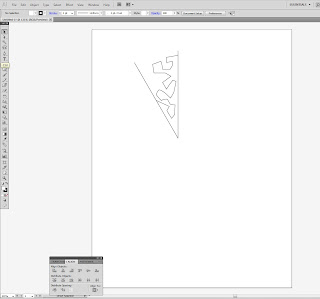
Now select your zigzag and click the reflect tool (the shortcut is the "o" key). With the reflect tool active, press the alt key and click on one of the anchor points of your vertical guide line. The reflect tool dialog will pop up. Select vertical axis and click the copy button. You'll have the first arm of your snowflake. It will look something like this...
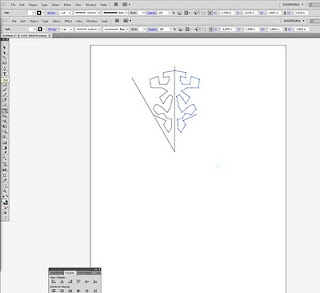
Now we need to make that snowflake arm into one continuous object. Using the direct selection tool and select the points of your two zigzag lines that meet on your vertical guide line, and select (Object->Path->Join) or (CTRL-J) Now your snowflake arm is one continuous line.
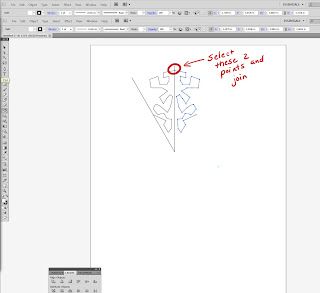
Now for the fun part. Select your snowflake arm and click the rotate tool. With the rotate tool active, press the ALT key and click on the BOTTOM anchor point of your guideline. When the rotation dialog box opens, select an angle of 60 degrees and click copy. You will have a new arm of your flake...
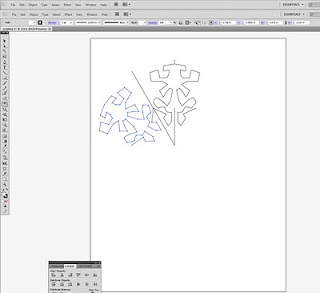
All you have to do now is click CTRL-D which is the shortcut for "Object-Transform-Again" to create the rest of the arms. When you have all of the arms, select the whole mess and click CTRL-J again to join all the paths into one continuous object.
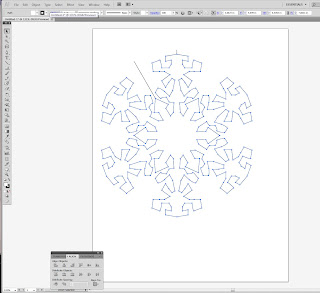
Voila! you have a 6 sided snowflake.
Now to rid the world of images of polar bears and penguins living together...

Comments
Thanks for the neat tutorial.