Repeating Patterns in Photoshop (Part 2 - Color)
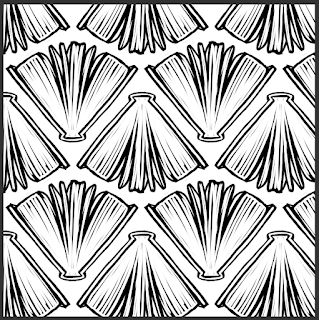
In Part 1 of this post I showed how I created this book pattern. Now in Part 2 I will share a few ways to use patterns in your illustrations and some interesting ways to add color and textures.
The document we created in Part 1 had a repeating pattern. The document has 3 layers, Background, Layer 1 and Layer 1 copy.
Making sure we have all three layers visible, click Select -- All then Edit -- Define Pattern...
Now let's use the pattern we just defined in a new document. Create a new document larger than your pattern document and add some colors to the Background layer using the brush tool.
Then let's create a new layer above this colored background layer and fill it with the pattern (click Select -- All then click Edit -- Fill and select Pattern. The document will look something like this:
No big surprise, the pattern completely blocks out the colors on the background layer. But if we go back to the pattern file and hide the background layer and define a new pattern. This time the pattern will have transparent areas.
And if I use this new pattern to fill the layer above the color layer. I get something like this...
Now this is a little more useful because I can easily adjust the background color by manipulating the layer underneath.
I can also manipulate the pattern layer.
By locking the transparency of the pattern layer, I can drop new colors into the pattern using the brush tool.
I can also change the blend mode of the pattern layer to get different effects. For instance setting the blend mode to Overlay.
Here I locked the transparency of the pattern layer, filled it with white and lowered the opacity.
Changing the opacity of the layer is one way to control the strength of the pattern. Using a layer mask is another way. By using a layer mask we can make some areas fade more and also add some interesting texture. For example, make the pattern layer the current layer and click on Layer Mask icon at the bottom of the layer window.
Now make sure the layer mask is selected. Set the current color to black and use the brush tool. I prefer using a brush with a lot of texture. Brush in some strokes and see your pattern recede. Play with different brushes and different settings. Change the color to white and the pattern will reappear.
By using combinations of these techniques you can add all sorts of texture and pattern to your illustrations.
In Part 3 we will talk about how to incorporate patterns into actual illustrations by giving them a little perspective.


Comments