Painting Progression
I like seeing how other artists work, so I thought I'd share one of my pieces and show how I do my photoshop scratch board paintings.
Once I had a watercolorist say to me, "Oh, you work on a computer. Don't you just press a button to tell the computer what sort of picture you want it to make?" "Uh, yeah... sure... I just press that button and out pops a picture." Even when I tried to explain to him that it wasn't that easy, I don't think he believed me. There must be secret button that I wasn't telling him about. In reality, Photoshop isn't that much different than traditional painting but there are a few advantages. One, I don't get my clothes dirty. Two, I don't run on of paint (a good thing since the nearest decent art supply is 45 minutes away) And three, I have that most wonderful invention in the history of the human race - the undo button. Let's face it, wouldn't it be nice if everything we did had an undo button!
All my work starts with a pencil sketch (usually a bunch). I not very good at drawing on the computer. This particular sketch is pretty rough. Usually they are more finished than this before I start the final.
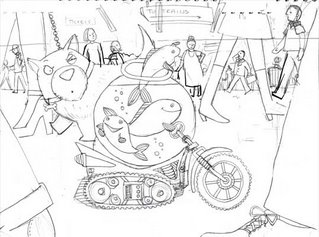
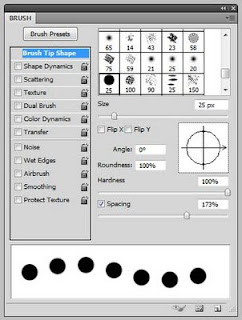
Next I scan the pencil drawing into photoshop. Then it's time to start "scratching" the black lines. This is all done in the photoshop.
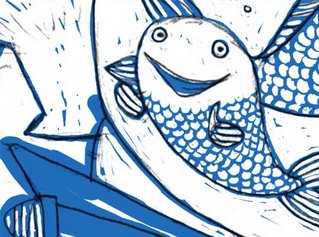
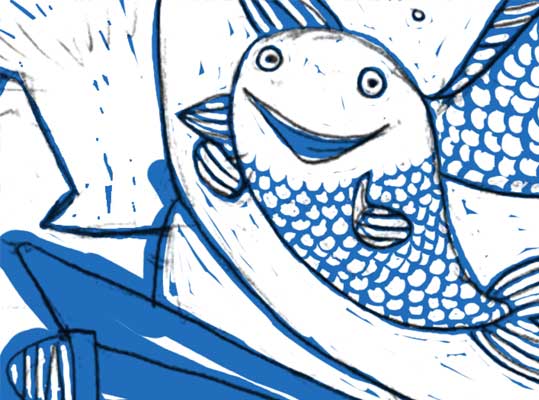
I set the pencil sketch's layer to 'multiply' and work in blue on a lower layer. I use blue so the pencil lines stand out and I can see what I'm doing. Then I use a fat paint brush to lay down areas of blue and use the eraser tool to remove sections. It's pretty much the same as using a regular old scratch board, except I don't get little black bits all over the place.
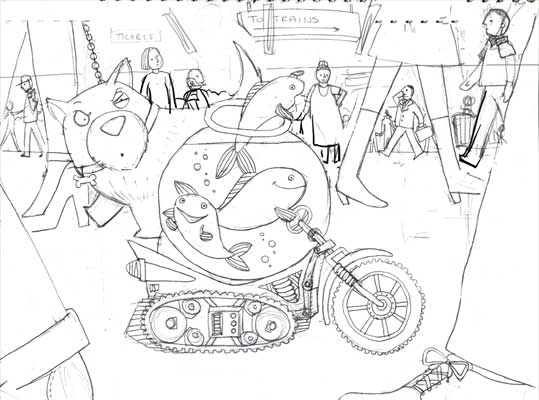
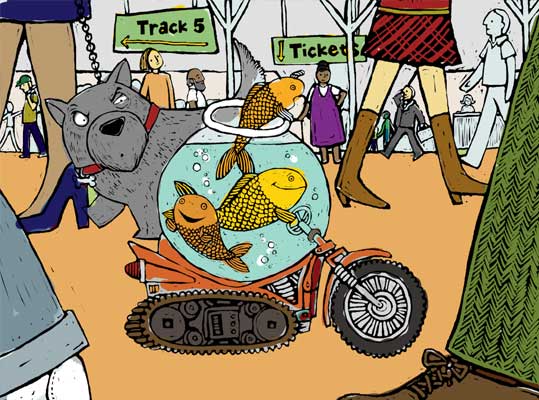
Once all the 'scrathing' is done I change the blue to black and delete the pencil layer and I have something like this...

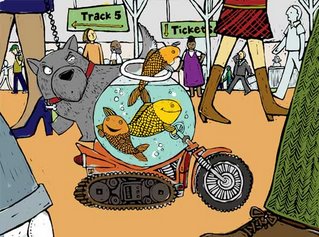
Then I start adding the colors. I usually do a small color study with my initial color ideas. Usually I stick pretty close to it. But this time - well, it was pretty ugly. At least I knew what colors NOT to use.
Hmmm, I think I'll have to finish this in another post. Blogger won't let me add another photo.
Once I had a watercolorist say to me, "Oh, you work on a computer. Don't you just press a button to tell the computer what sort of picture you want it to make?" "Uh, yeah... sure... I just press that button and out pops a picture." Even when I tried to explain to him that it wasn't that easy, I don't think he believed me. There must be secret button that I wasn't telling him about. In reality, Photoshop isn't that much different than traditional painting but there are a few advantages. One, I don't get my clothes dirty. Two, I don't run on of paint (a good thing since the nearest decent art supply is 45 minutes away) And three, I have that most wonderful invention in the history of the human race - the undo button. Let's face it, wouldn't it be nice if everything we did had an undo button!
All my work starts with a pencil sketch (usually a bunch). I not very good at drawing on the computer. This particular sketch is pretty rough. Usually they are more finished than this before I start the final.
Next I scan the pencil drawing into photoshop. Then it's time to start "scratching" the black lines. This is all done in the photoshop.
I set the pencil sketch's layer to 'multiply' and work in blue on a lower layer. I use blue so the pencil lines stand out and I can see what I'm doing. Then I use a fat paint brush to lay down areas of blue and use the eraser tool to remove sections. It's pretty much the same as using a regular old scratch board, except I don't get little black bits all over the place.
Once all the 'scrathing' is done I change the blue to black and delete the pencil layer and I have something like this...

Then I start adding the colors. I usually do a small color study with my initial color ideas. Usually I stick pretty close to it. But this time - well, it was pretty ugly. At least I knew what colors NOT to use.
Hmmm, I think I'll have to finish this in another post. Blogger won't let me add another photo.

Comments
Later,
Adrian.
-Jen Niles