Creating a Halftone or Ben-day Dot Effect
This is a tutorial on how to create oversized Ben-day dots in Photoshop. Ben-day dots are those dots that are used to represent shading in comic books (ala Roy Lichtenstein) I used this effect in my Illustration Friday piece this week and thought I'd share how I did it.
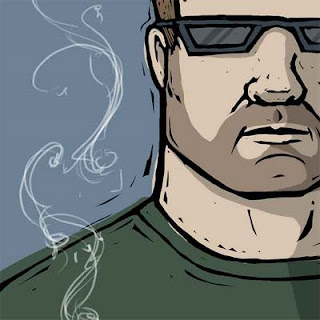
I started with my image which was 2100x2100 pixels. The blue background is on a separate layer behind the figure. Since this piece has kind of graphic, comic-book feeling I thought I'd add to that by creating a half-tone pattern in the background.
First thing I did was create a new work file the same size as my original file (2100x2100 pixels). You will need to create a new file not just a new layer. You'll see why in a minute. In the new file I selected the whole image (CTRL-A) Then using the gradient tool, I created a gradient that goes from white to black as shown.
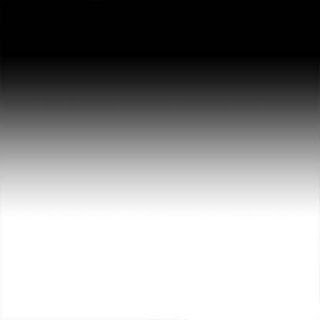
The next step is to change the mode of the my work file. So with my new work file selected I clicked Image->Mode->Grayscale. You'll be prompted to discard the color information. Click discard. (That's why you need to do this in a new file.)
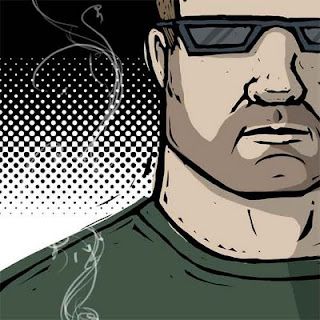
Then I selected Image->Mode->Bitmap. You will be given a dialog box. My input resolution was 300 pixels/inch so I left the output as 300 also. Then I selected Halftone screen as my method and hit OK.
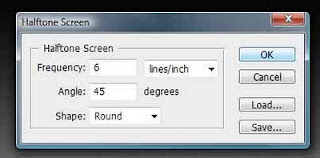
The next dialog asks for the frequency. You can experiment with this for different effects but I selected a really low frequency of 6 lines/inch with 45 degree angle and set the shape to round. When I hit OK I was left with something like this...
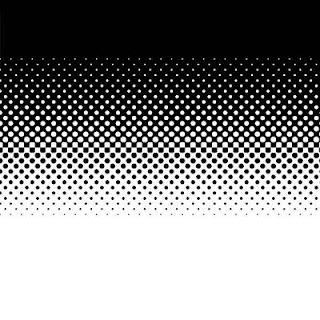
Next I selected my dotty pattern and copy and pasted it back into my original image. I added it right above the blue background layer in my original file.
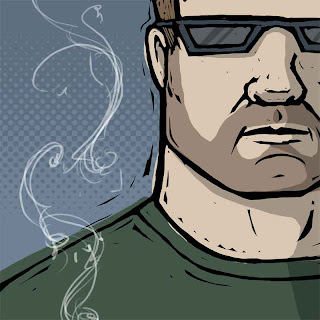
I wanted the blue to show though so as a last step I set the layer's mode to multiply and set the opacity to 15% and voila!

I started with my image which was 2100x2100 pixels. The blue background is on a separate layer behind the figure. Since this piece has kind of graphic, comic-book feeling I thought I'd add to that by creating a half-tone pattern in the background.
First thing I did was create a new work file the same size as my original file (2100x2100 pixels). You will need to create a new file not just a new layer. You'll see why in a minute. In the new file I selected the whole image (CTRL-A) Then using the gradient tool, I created a gradient that goes from white to black as shown.

The next step is to change the mode of the my work file. So with my new work file selected I clicked Image->Mode->Grayscale. You'll be prompted to discard the color information. Click discard. (That's why you need to do this in a new file.)
Then I selected Image->Mode->Bitmap. You will be given a dialog box. My input resolution was 300 pixels/inch so I left the output as 300 also. Then I selected Halftone screen as my method and hit OK.

The next dialog asks for the frequency. You can experiment with this for different effects but I selected a really low frequency of 6 lines/inch with 45 degree angle and set the shape to round. When I hit OK I was left with something like this...

Next I selected my dotty pattern and copy and pasted it back into my original image. I added it right above the blue background layer in my original file.

I wanted the blue to show though so as a last step I set the layer's mode to multiply and set the opacity to 15% and voila!


Comments