Creating a Texture Brush in Photoshop
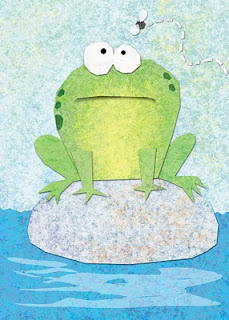
I'm working on a Photoshop techniques presentation for the New England SCBWI conference this weekend and I thought I'd share with you one of the techniques I'll be discussing on Sunday. The following tutorial will show you how to create the texture brush I used to create the image above.
This is a fun technique for creating custom brushes that will add texture and interest to your images. By the way, I'm using Photoshop version CS3 in this demonstration.
First get some white paper and some black paint (yep, I said paper and paint) I used some copy paper and cheap black acrylic craft paint. Then I used sponges, Saran wrap, leaves and anything else I could find to make irregular shaped blobs on the paper. You can even get your kids to help with this part.
Once it all dried, I scanned in some of my blobs. Here's one that I created with a wadded up piece of Saran wrap dipped in paint.
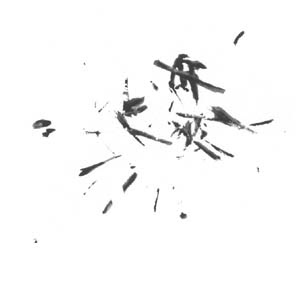
I selected the blob using the marquee tool and then clicked Edit -> Define Brush Preset and hit OK.
If I then use the brush tool using my newly created brush, I get something like this...
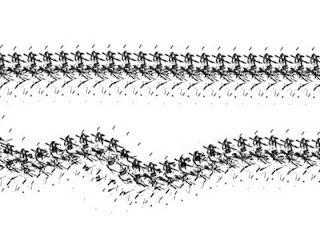
It's interesting, but too mechanical and repetitive for what I want to do. So I'm going to open the brush palette (Window -> Brushes) and make some changes.
I clicked on the Shape Dynamics on the left-hand side of the dialog to open the shape dynamic options. The first thing I change is the size jitter, I set the Control to pen pressure. But I don't my brush size to vary too much in size, so I set the minimum diameter to 70%.
Next I set the Angle jitter to 100% and also check Flip X jitter and Flip Y jitter. This will give it a more random look, like I was dipping a sponge in paint over and over again twisting the sponge as I went.
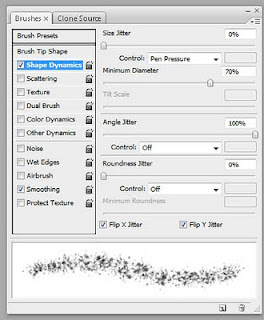
As you can see from the preview window in the bottom of the brush dialog this is looking a lot more random now. Of course I encourage you to play around with all the brush settings and see what sorts of effects you can come up with.
It's very important to remember that once you change the brush settings, you need to save it as a new brush. Or the next time you go to use the brush it will revert back to the old settings.
Now if I use this new and improved brush to scribble over my image. I get something like this...
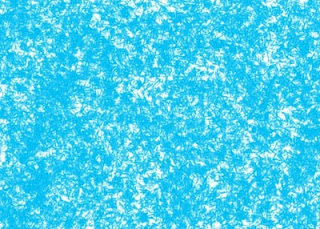
And if I go over it again with another color, little bits of the blue will still poke through here and there...
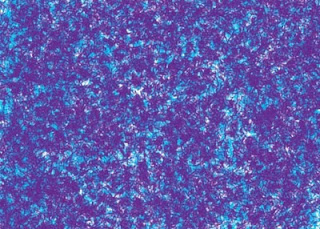
By layering more and more colors I can get a nice subtle texture. This was all done using that same brush. I did lower the opacity on the last few passes to get a softer overall look. This is how I created the frog image at the top of this post.
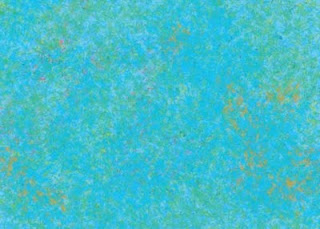
Hope you found this useful. I encourage you to experiment and come up with your own texture brushes.
Comments
i found your blog thru alicia padron and look forward to reading more of it! thanks, maggie smith
magggierama.blogspot.com
i just adjusted one of my brushes, but now i cannot figure out how to save it! i must be spacing out...
This would be so awesome too--would love to see how it's done!!